Lane
Before I even started building the lane I had design after design in my head and on paper. I have settled on the lane foundation but I am still changing my mind on details. Just when I think I have something finalized I tear it apart and decide on another, better (I hope) way to do it. I am wearing out a path to the home improvement store! 🙂
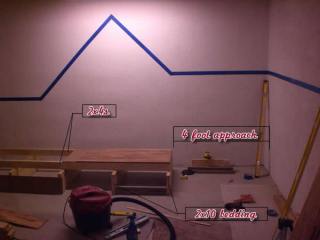
I knew I wanted something strong, that would always be solid and level. So I am using 2x10s cross-braces for the bedding, with another 2×4 bed longways on top of those. This is the way many regulation lanes are built, also it elevates the lane to a comfortable level for adults and kids, about 13 3/4 inches off the floor.
I have just a 4 foot approach, enough room for an adult to take a good-sized step and roll the ball. I only have a 28 foot long area where I am building my lane so I wanted to maximize the space for the lane.
Here is a construction shot of the approach. It is not a final construction pic, just wanted to give an idea of what I’m talking about. (Notice that when building a lane you can never have too many levels.)
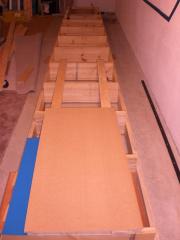
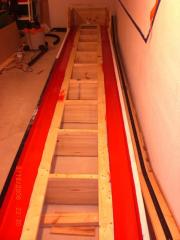
Below is another shot, standing where the approach will be, looking down the uncompleted lane. Nothing is attached yet.
Below the bottom lane bedding is complete. On top of it I laid a couple of 2x4s, a sheet of MDF and a piece of wood painted the colors my gutters will be.
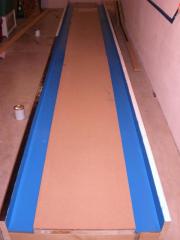
After the flood came I had to take some time to rip up all of the carpet and repair the damage, then it was back to work on the dream. Below I finished painting the gutters, the color is “sail blue”. The sides will be black (half of the left side is finished and the right side has primer applied) and I am hoping to paint some retro-ish things on the side. I laid the MDF on top of the bedding, soon I will attach it and then put the laminate on top, which will be the lane surface.
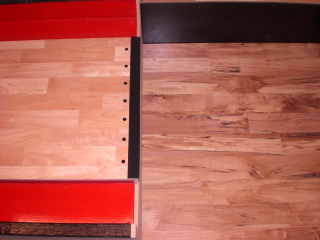
Bye Bye Blue! Just didn’t like the way the black sides and the blue gutters didn’t seem to go together so I changed it to “Sunrise Red”. Also, kind of hard to see but i have finished alot of the pit work. I decided to lay the top 2×4 bedding flat because it was too far of a drop to the gutter when they stood on end, makes it more realistic and it won’t sacrifice any strength.
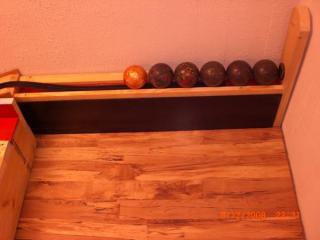
Below is the approach end of the ball return I built. I took a video of it in action tonight, I’ll see if I can post it up here some time soon. The ball return works perfectly. The ball on the left is the exact half-scale ball (4.3 inches) from Linds. The 5 on the right are the candlepin balls (4.5 inches) that I just received today from Ebay.

